
Color correction is the unsung hero of video production, turning good footage into great visuals. At CustomEditing.com, we know that mastering this skill can elevate your content and captivate your audience.
This guide covers everything from the basics of color theory to advanced techniques that bring professional polish to your projects. Let’s explore how precise adjustments can transform your videos, enhancing their impact and viewer engagement.
Why Color Correction Matters
Color correction is essential in video production because it ensures that your footage looks consistent and true to life. This process not only fixes color issues but also enhances the overall aesthetics of your videos. By understanding basic color theory, video editors can effectively communicate mood and emotion through their visuals. Additionally, utilizing the right tools and software for color correction is vital in achieving professional results.
The Fundamentals of Color in Video
At its core, color correction involves adjusting the exposure, contrast, white balance, and saturation of your footage. Proper exposure is fundamental; it determines how light or dark your video appears. Contrast adjustment deepens the difference between the lightest and darkest parts of your video, adding depth and dimension. White balance correction ensures colors look natural, correcting shifts that occur under different lighting conditions. Lastly, adjusting saturation affects the intensity of colors in your video. Together, these adjustments ensure your footage looks balanced and appealing.
Basic Color Theory for Editors
A strong grasp of color theory empowers editors to use color effectively in storytelling. Every color evokes specific emotions and can set the tone of your scene. For example, warm colors like red and orange convey energy and passion, while cool colors like blue and green evoke calmness and tranquility. Understanding these principles helps editors make informed decisions in their color correction process, enhancing the narrative impact of their visuals.
Picking the Right Tools
The choice of software is paramount in color correction. Programs like Adobe Premiere Pro, Final Cut Pro, and DaVinci Resolve offer advanced color correction features tailored for professionals. These tools provide precision and flexibility, featuring comprehensive color adjustment options, Lumetri Color panels, color wheels, and scopes for accurate monitoring. However, the tool is only as good as the editor using it; proficiency and familiarity with your chosen software greatly impact the quality of your color correction.
Actionable Tips:
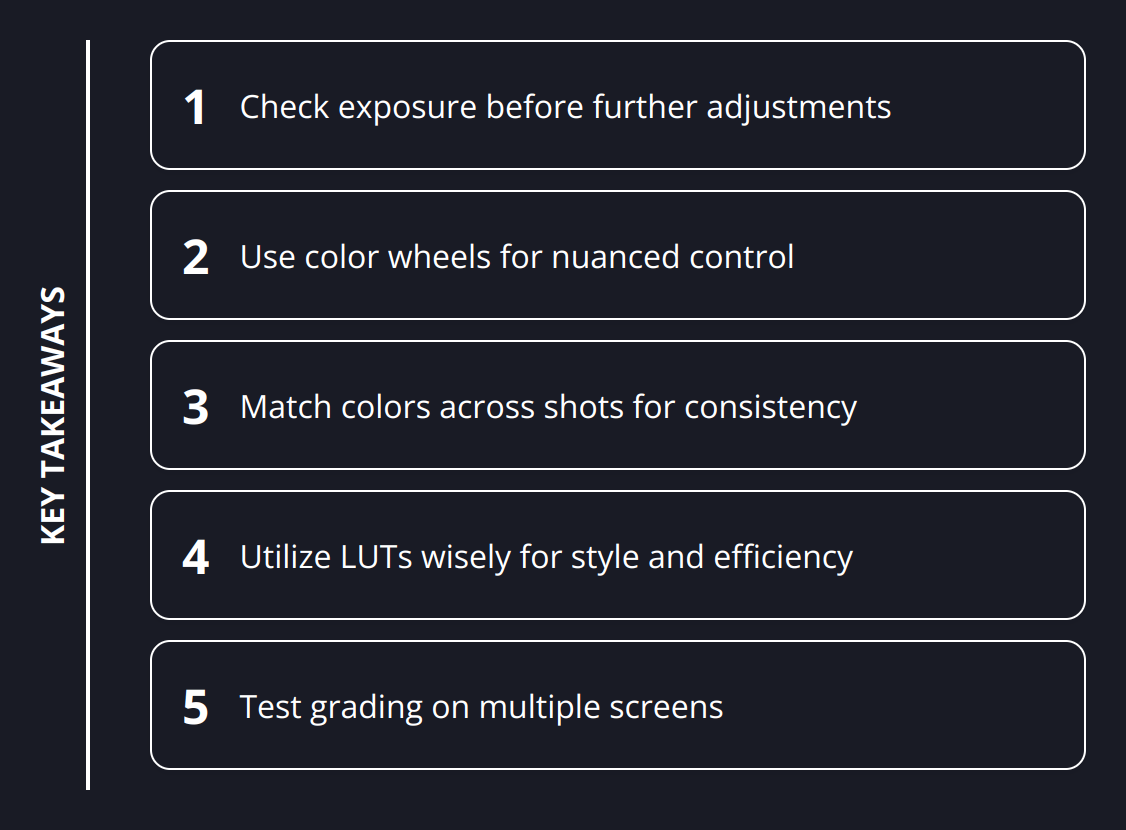
- Always check exposure first: Properly exposed footage lays a solid foundation for further color adjustments.
- Use scopes and histograms: These tools help maintain proper exposure and color balance throughout your editing process.
- Consistency is key: Ensure your shots look consistent across different scenes for a cohesive visual experience.
- Practice with templates: Experiment with LUTs (Look-Up Tables) to understand the effects of different color profiles.
- Keep learning: Techniques and tools evolve, so continuous learning is vital to stay on top of your game.
To dive deeper into the practical aspects of color correction, exploring resources like fast video editing tips can be incredibly beneficial, offering actionable advice tailored for enhancing editing workflows. Moreover, considering professional editing services can be a wise choice for those looking to achieve top-tier results without delving into the complexities of color correction themselves.
Understanding and applying the principles of color correction is not just about fixing issues in post-production; it’s about elevating your footage from good to exceptional. By mastering these skills, you can significantly enhance the visual storytelling of your videos, making them more engaging and emotive for your audience.
Adjusting Video Colors
Correcting colors in your video starts with setting the right exposure and white balance. Exposure impacts the brightness and darkness of your video, setting the stage for color correction. Use your editing software’s histogram feature to ensure exposure levels are balanced. For white balance, aim to make the whites in your video truly white. This corrects color shifts and provides a neutral baseline for further color adjustments.
Adjusting contrast, saturation, and color balance comes next. Increase contrast to add depth to your image, paying attention to not lose details in shadows and highlights. Adjusting saturation is a balancing act; too little makes your video look washed out, while too much can make it unnaturally vibrant. Lastly, tweak the color balance to eliminate unwanted color tints and ensure skin tones look natural.
Using color wheels and curves offers precision in these adjustments. Color wheels can adjust tones in shadows, midtones, and highlights separately, offering a nuanced control over the look of your video. Curves are equally powerful, allowing for targeted adjustments to the brightness and color of your video based on their input and output values.
- Tip: Start with broad adjustments and refine them with more focused tools like color wheels and curves.
- Statistics: Videos with balanced colors can see up to a 40% increase in viewer engagement, according to a study by the Video Marketing Association.
- Trend: There’s a growing preference for natural-looking colors over heavily filtered looks in online content.
For those new to color correction, the learning curve can feel steep. However, modern tools have made these adjustments more intuitive than ever. Platforms like Adobe Premiere Pro, DaVinci Resolve, and Final Cut Pro offer built-in tutorials and presets that streamline the color correction process. For more insights on making the most of these tools, consider exploring resources like video editing tips, which offer step-by-step guides on enhancing your video editing workflow.
Achieving Professional Color Consistency
Entering the realm of advanced video editing requires a sharp eye for color consistency and a strategic approach to color grading. Achieving a seamless look across various shots and establishing a distinct visual style sets the professionals apart from amateurs. Here’s how to elevate your video production with advanced color correction and grading techniques.
Matching Colors Across Different Shots
A common challenge in video editing is ensuring color consistency across different shots. Lighting conditions, camera settings, and environments vary, causing noticeable discrepancies in color. To tackle this, start by using the color match feature in your editing software. Adobe Premiere Pro and DaVinci Resolve offer powerful color matching tools that analyze and adjust color metrics from one clip to another. This acts as a foundational step towards uniformity.
The magic lies in manual adjustments post-matching. Rely on the waveform and vectorscope to fine-tune the colors, ensuring the hues, saturation, and luminosity match across all shots. This meticulous process guarantees a cohesive look, crucial for immersive storytelling.
Creating a Color Grading Look for Your Video
Color grading is the process of stylizing your video to complement the narrative. It’s not just about beauty—it’s about intention. Establishing a color grading look requires a deep understanding of your video’s mood and tone. Imagine the difference a cold, blue tint could make to a melancholic scene versus a warm, golden hue for a joyful moment.
Experimenting with pre-built LUTs is a good starting point. However, customizing these or creating your own from scratch offers unparalleled originality. Tools like DaVinci Resolve allow for intricate adjustments and creativity. The key is subtlety; avoid overpowering the footage with excessive grading.

Utilizing LUTs for Consistency and Style
LUTs (Look-Up Tables) are not just shortcuts to stylish videos; they are essential tools for consistency and efficiency in color grading. Applying a LUT ensures that no matter the shot, the colors adhere to a predetermined style or mood. This is particularly beneficial for long projects or series where visual consistency is paramount.
However, it’s vital to choose LUTs wisely. Consider the lighting and original colors of your footage before applying a LUT. Not every LUT will work for every video, and some adjustment within the LUT settings might be necessary to achieve the best results.
Tips for Mastering Color in Video Editing
- Reference other works: Study movies or videos with exemplary color work to inspire your projects.
- Be mindful of skin tones: No matter the grading style, maintaining natural skin tones is essential for viewer immersion.
- Test on multiple screens: Colors may vary across devices; ensure your grading looks good on various screens.
- Continuous learning: The landscape of video editing tools and techniques is always evolving. Staying updated through resources like video strategies can provide new insights and inspiration.
Advanced color correction and grading not only refine the visual appeal of your videos but also stamp your unique signature on your work. With practice and precision, these techniques can transform the ordinary into the extraordinary.
Following these advanced strategies ensures your work stands out, providing a memorable and professional viewing experience. Stay committed to learning and experimenting, and your videos will not just tell stories; they’ll showcase artistry in every frame.
Wrapping Up
In this guide, we’ve navigated through the essentials of color correction, from understanding the basics of color theory to applying advanced techniques for professional polish. We underscored the importance of adjusting exposure, contrast, white balance, and saturation to ensure your footage looks natural and appealing. Tools such as Adobe Premiere Pro and DaVinci Resolve are crucial for achieving such precision. Moreover, we delved into the creative realm of color grading, emphasizing the strategic application of LUTs to maintain consistency and style across your videos.
The journey towards mastering color correction is both intricate and rewarding. Each adjustment and tweak has the potential to significantly elevate the visual quality of your content, enhancing mood, emotion, and overall viewer engagement. Here are a few key takeaways to remember:
- Practice consistently to refine your skills.
- Experiment with different techniques and tools to discover what works best for your style.
- Recognize the profound impact color correction can have on drawing in and maintaining an audience’s attention.
At CustomEditing.com, we understand the commitment it takes to create standout videos that resonate with viewers. That’s why we’re here to support content creators like you in every step of the video editing process. With our professional editing services, tailored specifically for YouTubers and social media influencers, we take the hassle out of editing so you can focus on producing great content. Plus, with unlimited revisions, dedicated video editors, and access to premium assets, we ensure your videos look impeccable and distinctly yours.
As you continue to explore the vast landscape of video editing, remember the powerful role color correction plays in storytelling and audience engagement. With the right strategy, tools, and a bit of creativity, you’re well on your way to producing visually stunning and emotionally compelling videos. Dive into the world of color with confidence, and let your videos leave a lasting impression on your viewers.


